How to Detect Leaks: A Step-by-Step Guide for Homeowners
Most homeowners miss the warning signs of leaks until water stains or a musty smell make them impossible to ignore. Yet more than one in ten UK households will suffer a major water leak this year, turning a minor issue into thousands of pounds in damage. The real shock is that many leaks start with clues you can spot—if you know where to look and what to listen for.
Table of Contents
- Step 1: Prepare Your Tools And Environment
- Step 2: Inspect Visible Pipes And Fixtures
- Step 3: Check For Water Stains And Dampness
- Step 4: Conduct A Water Meter Tests
- Step 5: Use Leak Detection Equipment If Necessary
- Step 6: Verify And Document Findings
Quick Summary
| Key Point | Explanation |
|---|---|
| 1. Prioritise Personal Safety | Always wear protective gear and ensure good ventilation when checking for leaks, especially gas leaks, to avoid dangerous situations. |
| 2. Thoroughly Inspect Visible Areas | Check under sinks, around toilets, and exposed pipes for water damage signs like rust, stains, or moisture rings, which indicate hidden leaks. |
| 3. Conduct Water Meter Tests | Turn off all water use, record the meter reading, and check for movement after 30-45 minutes to detect hidden leaks in your plumbing. |
| 4. Use Advanced Leak Detection Tools | If needed, employ thermal cameras and acoustic devices to locate hidden leaks that are not visible during standard inspections. |
| 5. Document Findings Meticulously | Keep detailed records and photos of suspicious areas and moisture issues to provide critical information if professional help is needed later. |
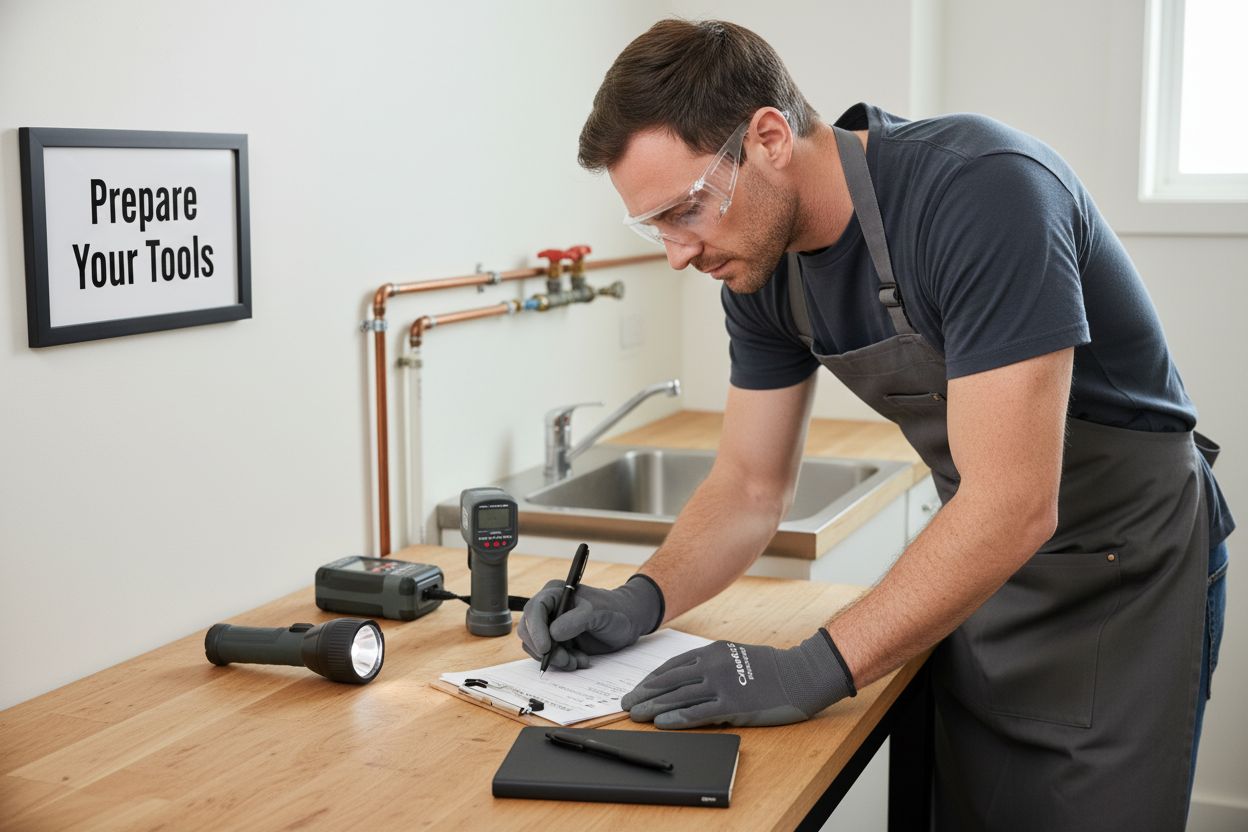
Step 1: Prepare Your Tools and Environment
Detecting leaks requires careful preparation and the right equipment. Before diving into the actual leak detection process, gathering the necessary tools and creating a safe working environment will significantly improve your chances of successfully identifying and addressing potential water or gas leaks in your home.
To begin, you will need a comprehensive toolkit that supports thorough leak investigation. Essential tools for leak detection include:
- Moisture metre
- Infrared thermal camera
- Pressure testing equipment
- Adjustable wrench
- Flashlight
- Protective gloves
- Safety goggles
- Notebook for documenting findings
Safety represents the most critical component of your preparation. Always prioritise personal protection and ensure proper ventilation when investigating potential leaks. If you suspect a gas leak, immediately evacuate the area and contact professional services. Your personal safety far outweighs any potential property damage.
Prepare your workspace by clearing the area around potential leak sites. Remove furniture, carpets, or other obstructions that might impede your investigation. Good visibility and unobstructed access will help you conduct a more thorough examination. Research from the National Safety Council emphasises the importance of creating a safe working environment before starting any home inspection.
Before beginning your leak detection process, take a moment to review the layout of your property. Identify key infrastructure such as water mains, gas lines, and potential entry points for moisture. Understanding your home’s basic infrastructure will help you systematically approach the leak detection process and recognise potential problem areas more effectively.
To help you prepare effectively, the table below summarises the essential tools required for home leak detection and their primary uses.
| Tool | Purpose |
|---|---|
| Moisture metre | Measures humidity and detects unseen moisture in materials |
| Infrared thermal camera | Identifies temperature variations that reveal hidden leaks |
| Pressure testing kit | Checks for drops in pressure indicating leaks in pipes |
| Adjustable wrench | Allows tightening or loosening plumbing connections |
| Flashlight | Illuminates dark or hard-to-access areas |
| Protective gloves | Safeguards hands from contaminants and sharp edges |
| Safety goggles | Protects eyes during inspection of pipes or fixtures |
| Notebook | Records findings and observations |
Mental preparation is equally important. Approach the task methodically and patiently. Leak detection can be complex, and rushing through the process might cause you to overlook critical details. Take your time, document your observations carefully, and be prepared to seek professional assistance if the investigation becomes too challenging or you feel uncertain about your findings.
Step 2: Inspect Visible Pipes and Fixtures
With your tools prepared, the next critical phase of leak detection involves carefully examining all visible pipes and fixtures throughout your home. This systematic visual inspection allows you to identify potential issues before they escalate into more significant problems that could cause substantial damage and expensive repairs.
Begin your inspection in areas most prone to leaks: under kitchen and bathroom sinks, around toilet bases, near water heaters, and along exposed pipe runs in basements or utility spaces. Use your flashlight to illuminate dark corners and examine pipes closely. Look for telltale signs of water damage such as discoloration, rust, mineral deposits, or subtle moisture rings on surrounding surfaces.
Pay special attention to pipe connections and joints. These areas are most susceptible to developing small leaks that can gradually worsen over time. Gently run your hand along pipe surfaces feeling for unexpected moisture or unusual texture changes. Building Research Establishment recommends checking pipe joints and connection points systematically, as these are frequently the initial sites of potential water intrusion.
When examining fixtures, check for water stains around faucets, shower heads, and toilet bases. Subtle discolorations or persistent dampness can indicate hidden leaks. Use your moisture metre to measure humidity levels around these areas, which can provide quantitative evidence of potential water infiltration even when visual signs are minimal.
During your inspection, document everything meticulously. Create a simple diagram or take photographs of areas that seem suspicious. Note the location, extent, and characteristics of any potential leak sites. This documentation will be invaluable if you need to consult a professional plumber or track the progression of potential water damage.
Remember that not all leaks are immediately visible. Some may manifest as slight condensation, subtle paint bubbling, or minor material warping. Trust your instincts and take a comprehensive approach. If an area feels damp or looks unusual, it warrants closer investigation and potentially professional assessment.
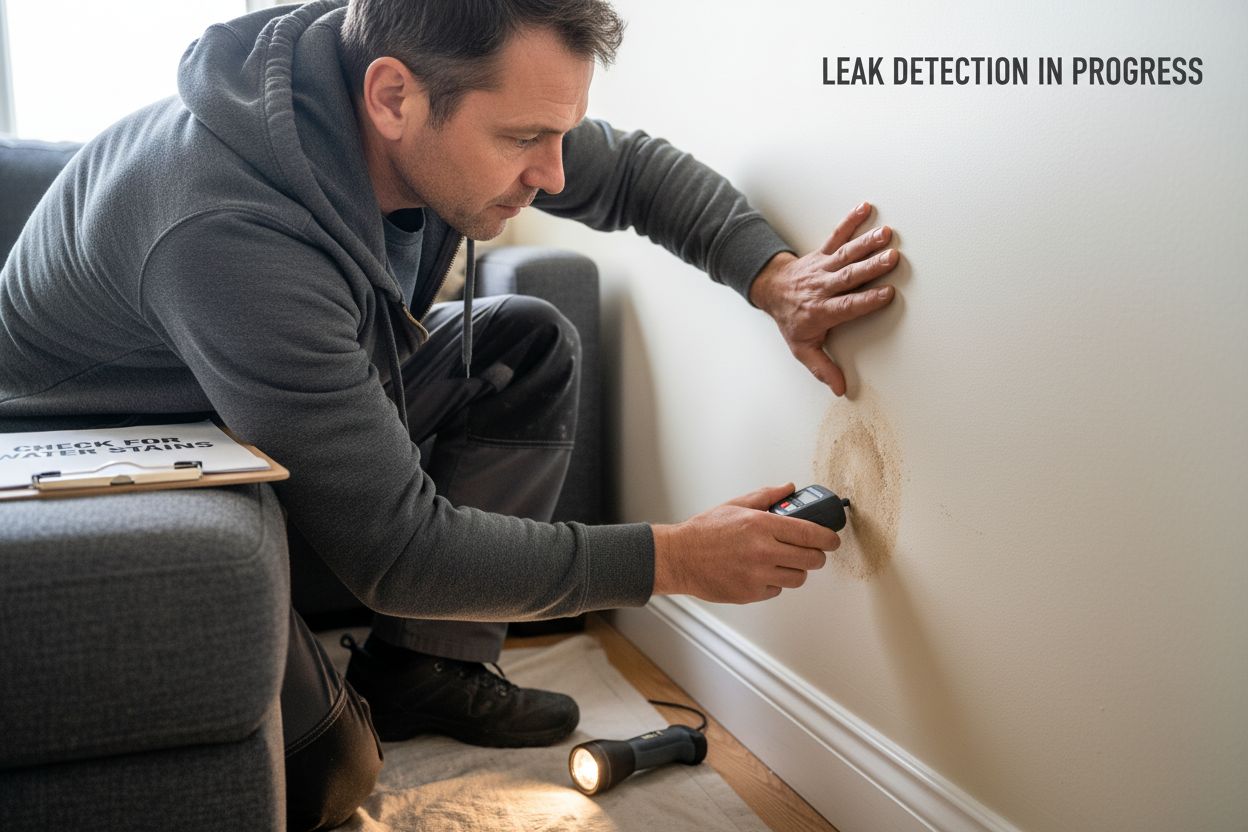
Step 3: Check for Water Stains and Dampness
Water stains and dampness represent critical indicators of potential leaks that often go unnoticed until significant damage occurs. This step requires a methodical and thorough examination of surfaces throughout your home, focusing on areas where moisture accumulation can signal hidden water intrusion.
Walls, ceilings, and floors are primary locations for detecting water damage. Look for discoloration patterns that suggest ongoing moisture problems. Brown or yellowish stains typically indicate water penetration, while greyish or dark marks might suggest more extensive water damage.
 These visual cues are your home’s way of communicating potential structural issues that demand immediate attention.
Building Research Establishment recommends paying special attention to areas where different building materials meet. Corners, ceiling edges, and wall junctions are particularly vulnerable to water infiltration. Use your moisture metre to measure humidity levels in these regions, as electronic detection can reveal moisture problems invisible to the naked eye.
Inspect less obvious locations like behind furniture, inside cupboards, and along baseboards. Move furniture away from walls and check for subtle signs of dampness or discoloration. Soft or bubbling paintwork, warped wooden surfaces, and musty odours are strong indicators of potential water damage. These signs often suggest long-term moisture issues that might have originated from hidden pipe leaks or structural infiltration.
During your investigation, document everything meticulously. Create a detailed map of your findings, marking areas of concern with precise locations and descriptions. This documentation serves two crucial purposes: tracking potential problem areas and providing valuable information if professional intervention becomes necessary.
Remember that some water damage might not be immediately apparent. Use your thermal camera to identify temperature variations that could indicate moisture presence. Cold spots or unusual thermal patterns might reveal hidden leaks behind walls or under flooring. Trust your senses and be thorough in your examination, understanding that early detection can save significant repair costs and prevent potential structural damage to your home.
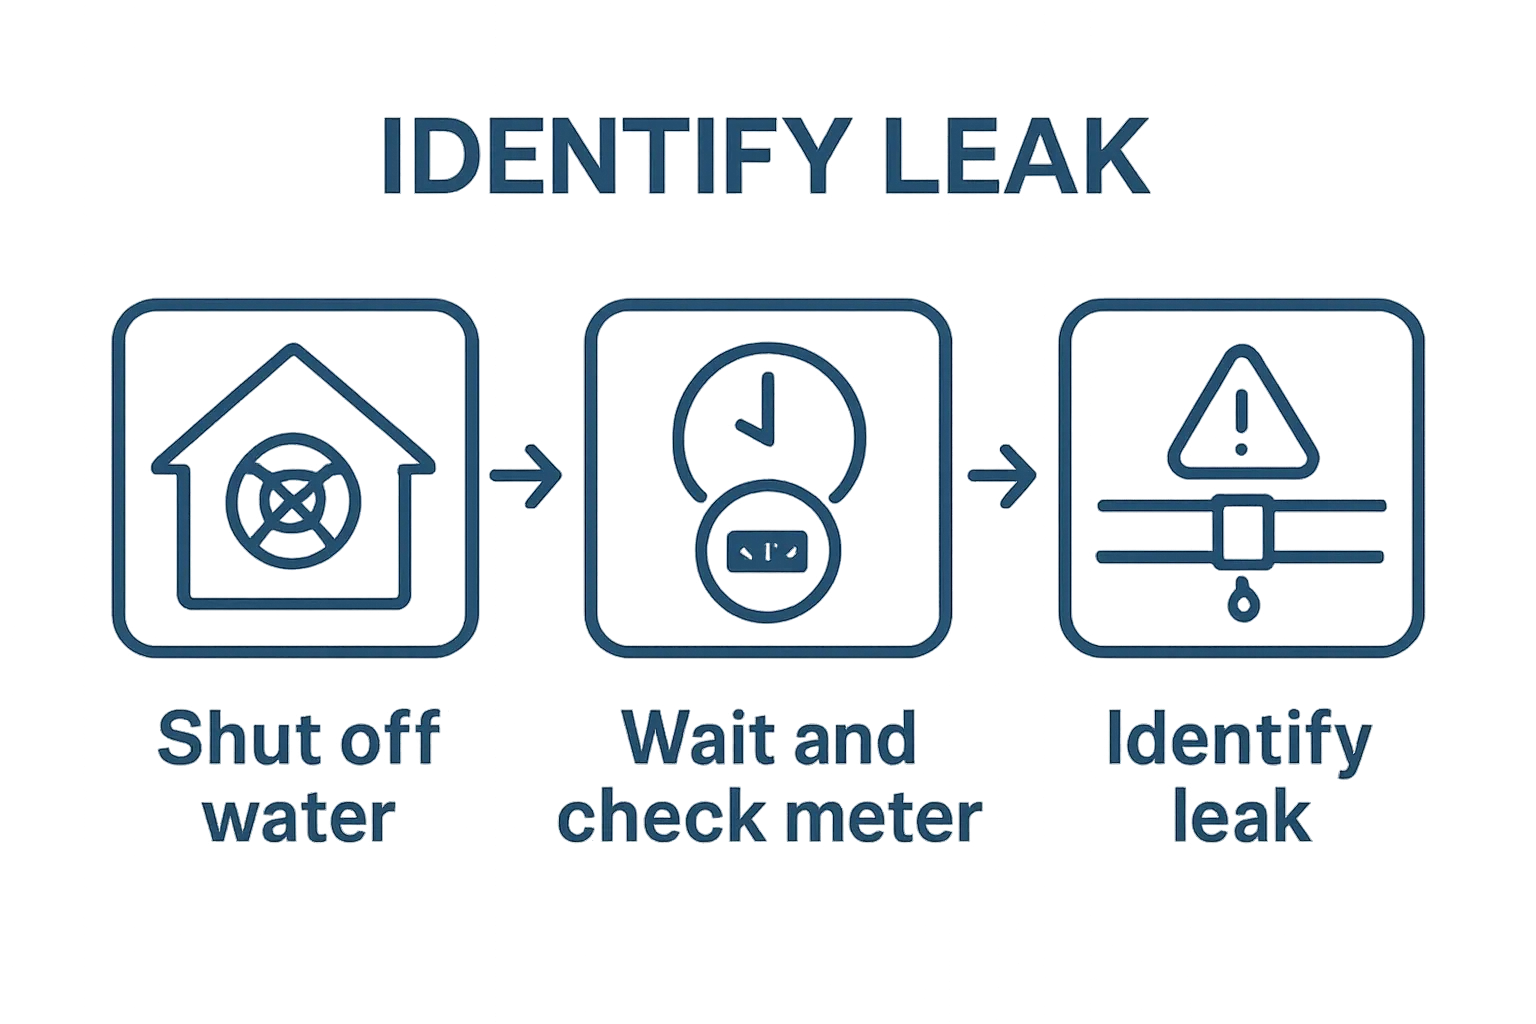
Step 4: Conduct a Water Meter Tests
Water metre testing provides one of the most reliable methods for detecting hidden leaks within your home’s plumbing system. This diagnostic approach allows you to identify water loss even when visual inspections reveal no obvious signs of leakage. The process requires patience, precision, and careful observation of your home’s water consumption patterns.
Begin by ensuring absolute water inactivity throughout your property. Turn off all water-consuming appliances, including washing machines, dishwashers, and automatic water systems. Ensure no taps are running and no toilets are refilling. Water Research Centre recommends creating a completely static water environment to obtain accurate leak detection results.
Locate your water metre, typically found near the street or in a basement utility area. Take an initial reading and record the exact time. For the next 30 to 45 minutes, completely abstain from using any water in your home. This means no flushing toilets, running taps, or using any water-related appliances. After the designated time period, return to the water metre and check the reading.
If the metre has moved despite no water usage, you likely have a leak somewhere in your plumbing system.
 The amount of movement can help indicate the potential severity of the leak.
Small incremental changes might suggest minor pipe seepage, while significant metre movement could point to more substantial plumbing issues requiring immediate professional attention.
For a more comprehensive test, consider conducting the metre test overnight when household water usage is naturally minimal. Before going to bed, take a precise metre reading. Ensure all water sources are completely shut off and no automatic systems are running. In the morning, check the metre again. Any unexpected movement indicates a potential hidden leak that could be silently causing damage to your property.
Remember that some leaks are intermittent and might not show consistent water metre movement. If you suspect a leak but the metre test seems inconclusive, consider repeating the test multiple times or consulting a professional plumber who can perform more advanced diagnostic procedures. Your diligence in conducting these tests can save significant repair costs and prevent potential long-term structural damage to your home.
Step 5: Use Leak Detection Equipment if Necessary
When visual inspections and water metre tests prove inconclusive, advanced leak detection equipment becomes your next critical investigative tool. Professional-grade technology can uncover hidden leaks that remain invisible to the naked eye, providing precise diagnostic information about your home’s plumbing infrastructure.
Thermal imaging cameras represent one of the most powerful leak detection technologies available to homeowners. These devices detect temperature variations that often indicate moisture presence behind walls, under floors, or within ceiling spaces. Building Research Establishment recommends using thermal cameras as a non-invasive method for identifying potential water infiltration zones.
Accoustic listening devices offer another sophisticated approach to leak detection. These specialised tools amplify the subtle sounds of water movement, allowing you to pinpoint exact leak locations within walls or underground pipes. Professional plumbers frequently use these devices to identify hairline fractures or minor pipe damage that traditional inspection methods might miss.
Moisture metres provide quantitative data about water content in various building materials. By measuring humidity levels in walls, floors, and other structural elements, these devices can reveal hidden moisture accumulations that suggest potential leak sources. Pay special attention to readings near pipe runs, around bathroom fixtures, and in areas with previous water damage history.
When using advanced detection equipment, systematic methodology is crucial. Create a comprehensive grid of your inspection area, moving the device systematically to ensure complete coverage. Document your findings meticulously, recording temperature variations, moisture readings, and any unusual signals detected by your equipment.
Remember that while these tools are powerful, they are not infallible. Complex leak scenarios might require professional intervention. If your own investigations using leak detection equipment remain uncertain or reveal potential significant issues, consulting a professional plumber becomes the most responsible course of action. These experts possess advanced diagnostic tools and the expertise to interpret complex leak indicators accurately, potentially saving you from extensive and costly water damage repairs.
Step 6: Verify and Document Findings
After conducting comprehensive leak detection investigations, the final critical step involves rigorously verifying and documenting your findings. This methodical approach ensures you have a clear understanding of potential issues and provides a solid foundation for future repair or professional intervention strategies.
Create a comprehensive leak investigation report that includes detailed information about every discovered anomaly. Royal Institution of Chartered Surveyors recommends maintaining meticulous records that capture the precise location, extent, and potential implications of each identified leak or moisture issue.
Photograph every suspicious area from multiple angles, ensuring clear, well-lit images that highlight water stains, pipe damage, or moisture accumulation. Include ruler or reference objects in your photographs to provide scale and context. Digital images with timestamp metadata offer valuable documentation that can help track the progression of potential water damage over time.
Prepare a detailed sketch or diagram of your property, marking all locations where leaks or potential moisture issues were discovered. Use different colour codes or symbols to distinguish between minor condensation problems and more significant structural water infiltration. Include precise measurements and notes about the condition of surrounding materials, which can help professional plumbers understand the full scope of potential issues.
Compile a chronological timeline of your leak detection process, noting the specific methods used, equipment employed, and results obtained during each stage of investigation. This systematic documentation serves multiple purposes: it helps you track the evolution of potential problems, provides valuable information for insurance claims, and offers critical insights for future repair strategies.
Finally, assess the severity of your findings and determine the appropriate next steps. Minor condensation issues might require simple preventative measures, while significant structural moisture problems demand immediate professional intervention. Your comprehensive documentation will prove invaluable whether you decide to address repairs independently or consult a professional plumbing specialist.
Below is an overview table summarising the key steps in the leak detection process, with guidance on difficulty and typical time required for each stage.
| Step | Difficulty | Typical Time Required | Key Outcome |
|---|---|---|---|
| Prepare tools and environment | Easy | 10-20 minutes | Safe, clear workspace ready |
| Inspect visible pipes and fixtures | Moderate | 20-40 minutes | Identify visible signs of leaks |
| Check for water stains and dampness | Moderate | 15-30 minutes | Locate hidden moisture/damage areas |
| Conduct a water metre test | Moderate | 30-45 minutes (plus wait) | Detect hidden leaks via meter change |
| Use leak detection equipment if needed | Advanced | 30+ minutes | Pinpoint hard-to-find leaks |
| Verify and document findings | Easy | 15-25 minutes | Complete records for future action |
Need Reliable Leak Detection or Repair? Trust Local Experts for Complete Peace of Mind
After navigating each step of leak detection, you might feel overwhelmed by the hidden risks that water leaks pose to your home. Unnoticed stains, damp patches, or unexplained water metre changes can cause sleepless nights and costly surprises. If you are concerned about your safety or unsure about using tools like moisture metres and thermal cameras, putting off action could mean missing the early signs of larger issues.

Do not leave your comfort and property at risk. Reach out to the trusted professionals at Thermatek Heating & Plumbing for expert help with leak investigations, emergency repairs, or preventative maintenance. Our Gas Safe Registered engineers combine advanced technology with years of experience, ensuring any leak or plumbing challenge is solved efficiently and safely. Book your inspection or request a free quote today at our main site. Let us help you protect your home and restore your peace of mind before small leaks become serious problems.
Frequently Asked Questions
How can I tell if I have a leak in my home?
To determine if you have a leak, inspect visible pipes and fixtures for signs of moisture or water damage, check for water stains on walls and ceilings, and conduct a water meter test to monitor for unexplained water usage.
What tools do I need for leak detection?
Essential tools for leak detection include a moisture metre, infrared thermal camera, pressure testing equipment, adjustable wrench, flashlight, protective gloves, safety goggles, and a notebook for documenting findings.
What are the signs of a hidden leak?
Signs of a hidden leak include water stains or discoloration on walls or ceilings, damp or warped materials, musty odours, and unexpected increases in your water bill.
When should I call a professional for leak detection?
If your leak detection efforts do not lead to conclusive results, or if you suspect significant plumbing issues, it is advisable to call a professional plumber. They have advanced tools and expertise to accurately diagnose and address complex leak problems.