Master Simple Plumbing Repairs for Homeowners in Edinburgh
Simple plumbing repairs can save Edinburgh homeowners hundreds of pounds every year and yet they’re often ignored until a tap erupts or a drain refuses to clear. Most people think plumbing is best left to the professionals. But even the experts agree that over 60 percent of basic leaks and clogs can be fixed safely with a few household tools. That means with the right checklist, you could prevent costly disasters before they ever take hold.
Table of Contents
- Inspect Your Plumbing For Issues
- Gather Necessary Tools And Materials
- Fix Leaks In Pipes And Fixtures
- Unclog Drains And Toilets
- Test Repairs For Effectiveness
- Clean Up And Maintain Your Plumbing
Quick Summary
| Key Point | Explanation |
|---|---|
| 1. Inspect plumbing regularly for issues | Regular inspections can identify leaks and damages early, saving costly repairs and preventing water damage in your home. |
| 2. Gather essential tools and materials | Preparing a dedicated toolkit with appropriate tools and materials ensures efficient plumbing repairs without interruption. |
| 3. Fix leaks promptly and correctly | Addressing leaks quickly prevents significant damage and maintains the integrity of your plumbing system while saving on future costs. |
| 4. Unclog drains effectively using plungers | Use a flanged plunger for best results on clogs and follow with a drain snake for deeper blockages when necessary. |
| 5. Perform thorough post-repair testing | After repairs, restore water pressure slowly and check for leaks and proper flow to confirm the effectiveness of your fixes. |
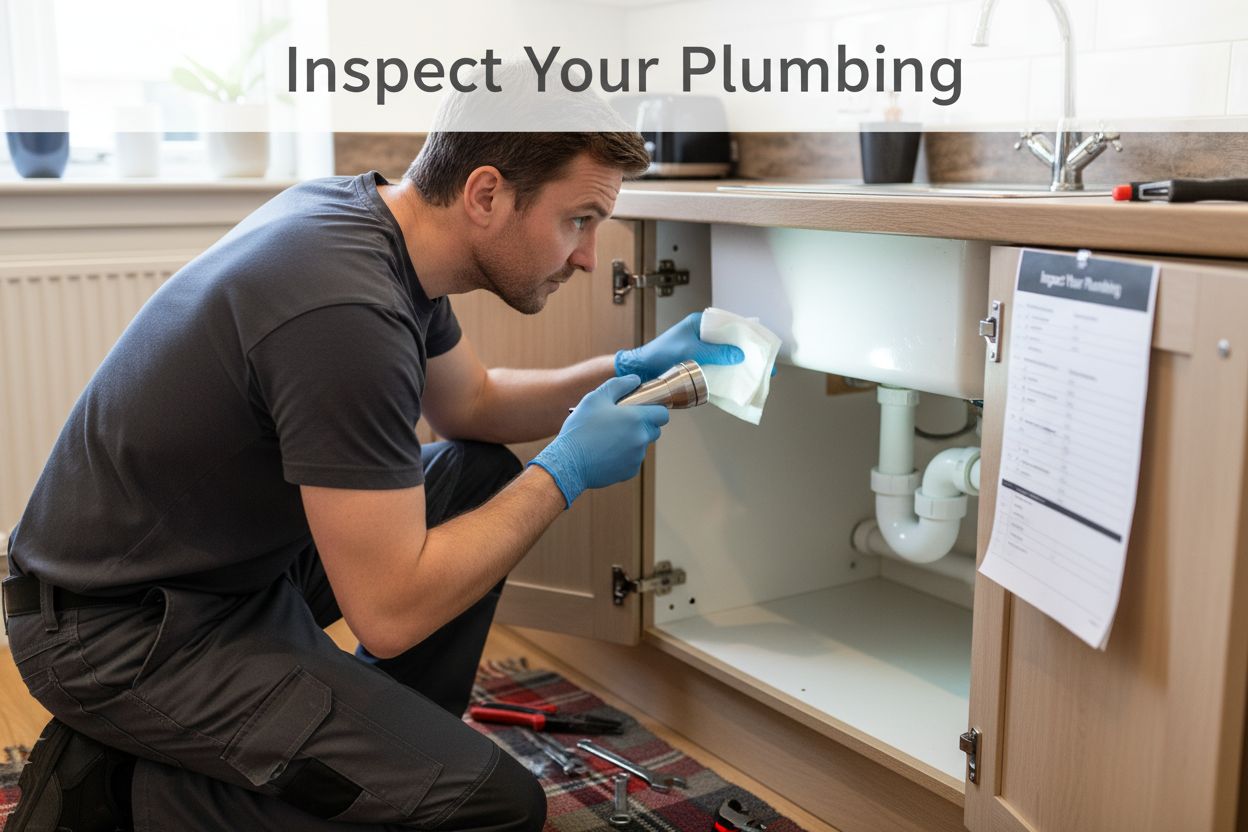
Inspect Your Plumbing for Issues
Understanding the state of your home’s plumbing system is crucial for preventing costly water damage and maintaining efficient household functionality. Simple plumbing repairs often start with a thorough inspection that allows homeowners to catch potential issues before they escalate into major problems.
Begin your inspection by checking visible pipes throughout your property, focusing on areas like under sinks, around toilets, in utility rooms, and near water heaters. Look carefully for signs of moisture, discolouration, or white crusty mineral deposits which might indicate slow leaks or developing pipe corrosion. Pay special attention to pipe joints and connections where water tends to accumulate or seep.
Carry a powerful flashlight and wear protective gloves during your inspection. You’ll want to examine pipe surfaces meticulously, checking for hairline cracks, rust spots, or subtle green and white stains that suggest water interaction with metal surfaces. Our guide on plumbing maintenance tips can provide additional insights into recognising early warning signs.
Utilise a moisture metre or simply press clean white paper towels against pipe surfaces to detect hidden moisture. Wet or discoloured patches could reveal potential leak locations that aren’t immediately visible. Remember that some pipes are concealed behind walls or under flooring, so watch for indirect indicators like unexplained damp spots, musty odours, or unusual wall discolouration.
Documenting your findings is crucial. Take clear photographs of any suspicious areas, measure and note the exact location of potential issues, and create a written log. This documentation will prove invaluable if you need professional assessment or want to track developing problems over time. For homeowners in Edinburgh’s variable climate, proactive plumbing inspections can save significant repair costs and prevent structural water damage.
Gather Necessary Tools and Materials
Preparing the right tools and materials is fundamental to successfully completing simple plumbing repairs in your Edinburgh home. Proper preparation prevents unnecessary interruptions and ensures you can address issues efficiently and confidently.
Your basic toolkit should include several essential items that will serve you across multiple repair scenarios. According to professional plumbing guidelines, critical tools include an adjustable spanner, pipe grips, plumber’s tape, a reliable hacksaw, and multiple screwdriver sizes. Consider investing in a dedicated plumbing toolkit that keeps these instruments organised and readily accessible.
Beyond tools, gathering appropriate materials is equally crucial. Purchase replacement washers, pipe sealant, and push-fit connectors beforehand. Select materials compatible with your existing plumbing system elements such as pipe diameter and material composition. For water-based repairs, always keep several clean rags, a bucket for catching potential water spillage, and protective gloves to maintain hygiene and safety.
Consider creating a dedicated storage container or toolbox specifically for plumbing repairs. This approach ensures all necessary equipment remains clean, dry, and easily transportable. Store items systematically to prevent searching during urgent repair moments. Your toolkit should also include a bright torch for examining hard-to-reach areas, measuring tape for precise assessments, and waterproof marking tools for noting potential repair locations.
Below is a table summarising key tools and materials for simple plumbing repairs, including their purpose and any relevant notes for Edinburgh homeowners.
| Tool/Material | Purpose | Notes |
|---|---|---|
| Adjustable spanner | Tightening or loosening various pipe fittings | Should fit a range of sizes |
| Pipe grips | Firmly holding or turning pipes and connectors | Essential for stubborn or slippery parts |
| Plumber’s tape (PTFE) | Sealing threaded joints to prevent leaks | Wrap clockwise, avoid excess |
| Reliable hacksaw | Cutting through piping where necessary | Check blade sharpness before use |
| Screwdrivers (various) | Removing screws from fixtures and tap assemblies | Flathead and Phillips required |
| Replacement washers | Fixing dripping taps and faulty valve seals | Purchase correct size for fixture |
| Pipe sealant | Providing watertight seals on compression fittings | Ensure compatibility with pipes |
| Push-fit connectors | Quick joining or repair of pipe sections | Select correct diameter/material |
| Bright torch | Illuminating pipework in dark or confined spaces | Keep batteries charged |
| Clean rags & bucket | Managing spills, cleaning pipes and work area | Use fresh cloths for absorbency |
Remember that while having comprehensive tools is important, knowing their proper application matters more. Take time to familiarise yourself with each tool’s specific function and practice basic techniques before attempting complex repairs. Investing in quality, durable tools will serve you better than purchasing multiple cheap alternatives that might fail during critical moments.
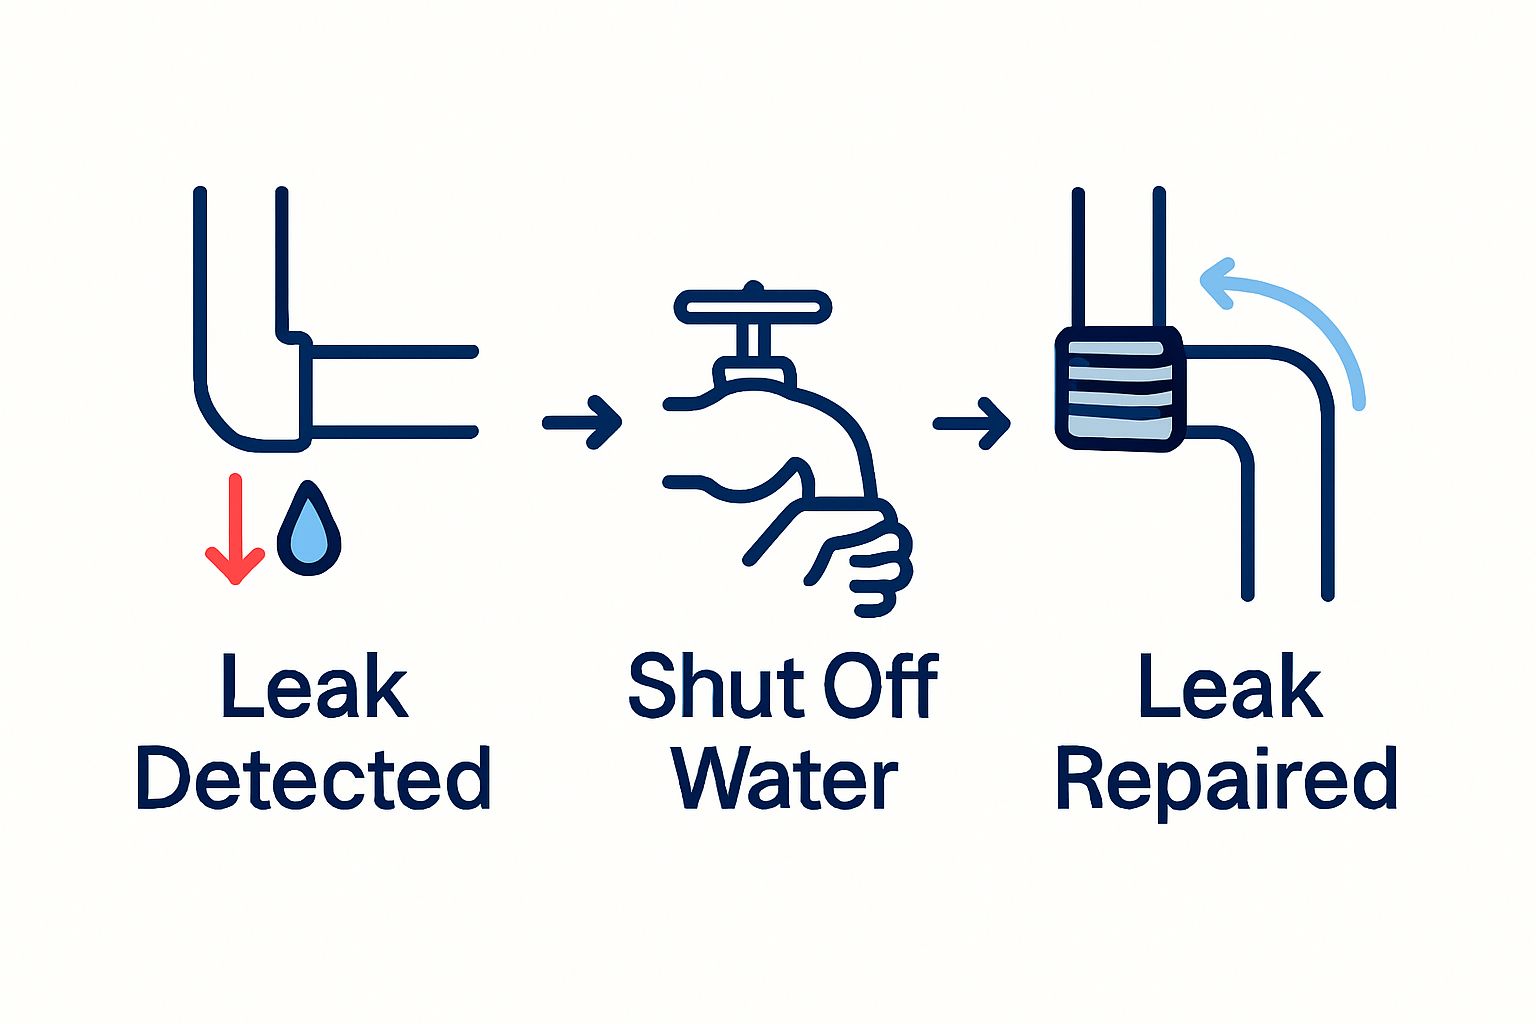
Fix Leaks in Pipes and Fixtures
Addressing leaks promptly is critical for preventing water damage and maintaining your home’s plumbing system integrity. Small leaks can rapidly escalate into significant problems if left unattended, potentially causing structural damage and increasing utility costs.
Start by identifying the precise location and nature of the leak. Learn more about leak detection techniques to help pinpoint the exact source. For pipe joint leaks, turn off the water supply before beginning repairs. Clean the affected area thoroughly using a dry cloth, ensuring the surface is completely free from moisture and debris. This preparation allows for better adhesion of repair materials and helps you assess the damage more accurately.
For minor leaks in pipe joints, apply plumber’s tape (also known as PTFE tape) around the threads in a clockwise direction. Wrap the tape tightly and smoothly, ensuring complete coverage without excessive bulging. When using push-fit connectors or compression fittings, check that rubber seals are intact and properly positioned. Gently tighten connections without over-torquing, which could damage the fitting or create additional stress points.
If you encounter more significant leaks or damage, temporary solutions like repair clamps or silicone tape can provide short-term relief while you arrange professional assistance.
These methods work well for small holes or cracks but are not permanent fixes. For leaking fixtures like taps or showerheads, often the issue stems from worn washers or seals. Carefully disassemble the fixture, replace the faulty components, and reassemble with care.
After completing repairs, slowly restore water pressure and carefully inspect the repaired area. Look for any signs of continued leakage, such as water droplets or moisture. Run water through the system and observe the repair site closely. A successful repair will show no signs of water escape, indicating you have effectively addressed the plumbing issue.
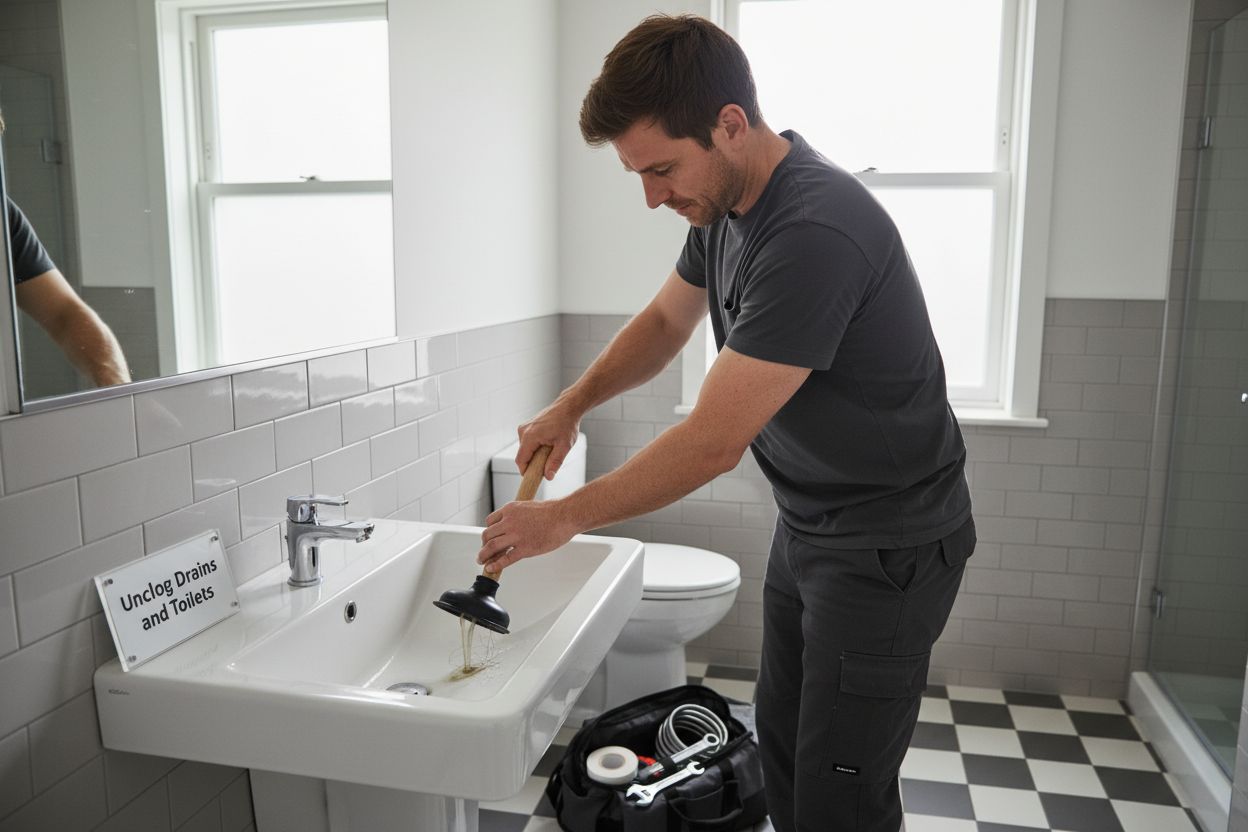
Unclog Drains and Toilets
Unclogging drains and toilets requires patience, the right techniques, and a systematic approach to resolve blockages effectively. Homeowners can tackle most minor clogs without calling a professional, saving time and money by understanding basic plumbing intervention strategies.
Begin with a plunger, which remains your first line of defence against most drain and toilet blockages. For sinks and toilets, use a flanged plunger that creates a better seal. Apply firm, consistent pressure with rhythmic plunging motions, maintaining a vertical angle to maximise suction. Our emergency plumbing guide recommends using quick, sharp plunges rather than slow, weak movements to dislodge typical obstructions.
When plunging proves ineffective, consider using a drain snake or auger. These flexible tools can navigate through pipe bends and reach deeper blockages. Insert the snake slowly, turning the handle to guide it through the pipe. Once you feel resistance, rotate the snake to break up or hook the obstruction. For bathroom sinks, remove the P-trap underneath to access and clear potential blockage points. Always have a bucket nearby to catch any water or debris that might emerge during this process.
Chemical drain cleaners should be a last resort, as they can damage pipe materials and create environmental hazards. Instead, create a natural cleaning solution using baking soda and white vinegar. Pour one cup of baking soda down the drain, followed by a cup of vinegar. Cover the drain and let the mixture sit for 15 minutes, then flush with hot water. This method helps break down organic matter and clear minor blockages without harsh chemicals.
After clearing the clog, run water at full pressure to ensure complete drainage. Listen for any unusual gurgling sounds and observe water flow speed. A successfully unclogged drain will allow water to pass quickly and smoothly, with no standing water or slow drainage.
The following table outlines troubleshooting steps for common issues during plumbing repairs, including typical symptoms, likely causes, and solutions as described in the guide.
| Issue | Symptoms | Likely Cause | Recommended Solution |
|---|---|---|---|
| Persistent leak | Ongoing dripping/moisture | Faulty joint, worn washer | Clean area, apply tape/replace washer |
| Stubborn drain clog | Water drains slowly or not at all | Organic blockages in pipes | Plunge, use drain snake, rinse with hot water |
| Leak after repair | Moisture returns near repair site | Incomplete seal or misalignment | Reapply plumber’s tape, check fitting |
| Sputtering water flow | Inconsistent or disrupted water flow | Air trapped, poor connection | Run at different pressures, tighten joints |
| Gurgling/drain noise | Unusual sounds during drainage | Partial clog remains | Repeat snake or plunging steps |
| Chemical odours | Harsh smell from pipework | Use of chemical drain cleaners | Use baking soda and vinegar methods |
 Repeat the process if necessary, but be cautious not to use excessive force that might damage your plumbing system.
Test Repairs for Effectiveness
Testing your plumbing repairs thoroughly ensures the integrity of your work and prevents potential future complications. A systematic approach to verification can save you significant time and expense by catching any remaining issues before they escalate.
Begin by slowly restoring water pressure to the repaired area. According to professional plumbing guidelines, multiple test cycles under normal operating conditions provide the most reliable assessment. For pipe and fixture repairs, watch carefully for any signs of water seepage, dripping, or unusual moisture around the repaired section. Use clean white paper towels or tissues to detect even the smallest moisture traces that might indicate an incomplete repair.
Focus on observing water flow characteristics during your tests. Run water at different pressures to simulate typical household usage. Check for smooth, consistent water flow without sputtering or irregular streaming. Listen closely for any unusual sounds like hissing, gurgling, or whistling, which could suggest underlying issues not immediately visible. Pay special attention to connections and joints, where leaks most commonly occur.
For drain and toilet repairs, perform comprehensive flushing tests. Flush multiple times in succession, watching water movement and drainage speed. A successful repair will demonstrate clear, quick water evacuation without backup or slow draining. If you notice any hesitation or partial blockage, you may need to repeat your unclogging process or consider professional intervention.
Document your testing process by taking brief videos or photographs of the repaired area during water flow. These records can serve as valuable references if you need to demonstrate the repair’s initial condition or seek professional advice. Remember that some repairs might require multiple testing cycles over several days to confirm complete resolution. Patient, thorough verification is key to maintaining your home’s plumbing system integrity.
Clean Up and Maintain Your Plumbing
Proper cleanup and ongoing maintenance are crucial steps in preserving your plumbing system’s longevity and preventing future issues. After completing repairs, a systematic approach to cleaning and maintenance will protect your investment and ensure optimal system performance.
Begin by thoroughly cleaning your work area, removing any debris, used materials, or excess sealants. Wipe down all surfaces with appropriate cleaning solutions, ensuring no residual chemicals might damage pipe surfaces or seals. Check our comprehensive maintenance guide for additional insights into long-term plumbing care. Dispose of used materials responsibly, separating recyclable items from general waste and ensuring chemical products are discarded according to local environmental regulations.
Establish a regular maintenance routine that includes periodic inspections of your plumbing system. Check visible pipes for signs of wear, potential corrosion, or minor leaks at least once every three months. Pay special attention to areas prone to moisture accumulation, such as under sinks, around toilet bases, and near water heaters. Use a bright torch to illuminate hard-to-see spaces, and keep a detailed log of your observations to track any developing issues.
Develop preventative habits that reduce strain on your plumbing system. Use drain strainers to catch hair and debris, avoid pouring grease or oil down kitchen sinks, and be mindful of what gets flushed down toilets. Periodically flush drains with hot water to help prevent buildup and maintain clear pipework. Consider using natural cleaning solutions like baking soda and vinegar monthly to keep pipes clean and reduce the risk of minor blockages.
Maintain a well-organized toolkit with cleaning and maintenance supplies readily accessible. Keep pipe tape, sealants, replacement washers, and cleaning materials in a dry, easily reachable location. This preparation allows you to address minor issues promptly before they escalate into more significant problems. Remember that consistent, proactive maintenance is far more cost-effective than reactive emergency repairs.
Stop Small Plumbing Problems Before They Become Big Expenses
Have you discovered signs of hidden leaks, stubborn clogs, or unreliable pipework in your home while following our step-by-step repair guide? These common issues not only risk water damage, higher bills, and lost peace of mind, but can also become large, costly emergencies if left untreated. Many homeowners in Edinburgh feel confident making smaller fixes, but some problems need the experience and resources of Gas Safe Registered professionals to ensure safety, compliance, and a permanent solution. For full reassurance that your home’s plumbing is truly protected and efficient, it pays to call in local experts.
Let our trusted team at Thermatek Heating & Plumbing provide lasting relief from leaks, drips, and other plumbing worries. Whether you need urgent repairs, full system inspections, or want to explore energy-saving upgrades, we are here to help you take the next step. Discover our affordable, reliable plumbing repair and maintenance solutions and request a free quote today. Protect your property, stop damage before it starts, and enjoy complete confidence in your plumbing. Act now to keep your Edinburgh home safe and stress-free.
Frequently Asked Questions
How can I start inspecting my plumbing for issues?
To inspect your plumbing for issues, begin by checking visible pipes in areas like under sinks and around toilets. Look for signs of moisture, discolouration, or mineral deposits that indicate potential leaks or corrosion.
What tools do I need for simple plumbing repairs in my home?
Essential tools for simple plumbing repairs include an adjustable spanner, pipe grips, plumber’s tape, and a reliable hacksaw. Gather these tools in a dedicated container to ensure you can efficiently address plumbing issues as they arise.
How do I fix leaks in pipes or fixtures?
To fix leaks, turn off the water supply and clean the affected area thoroughly. Apply plumber’s tape tightly around the joint, or replace worn washers to stop the leak and prevent further water damage.
What are effective methods to unclog drains and toilets at home?
Start with a flanged plunger for blockages, applying firm pressure to create a seal. If the clog persists, consider using a drain snake to clear deeper obstructions, and avoid chemical cleaners that might damage your plumbing.
How can I test my plumbing repairs to ensure they’re effective?
After making repairs, slowly restore water pressure and observe for signs of leaks or unusual sounds. Conduct multiple tests in various conditions, checking for consistent water flow and drainage to confirm the repair’s effectiveness.
What maintenance steps can I take to prolong the life of my plumbing system?
Establish a regular inspection routine every three months to check for wear and leaks in visible pipes. Additionally, maintain good habits like using drain strainers and avoiding flushing inappropriate items to better prevent future issues.
Recommended
- How To Choose A Plumber: Find The Perfect Fit For Your Needs – Thermatek Heating
- 7 Essential Plumbing Maintenance Tips For Homeowners – Thermatek Heating
- 7 Common Plumbing Emergencies Every Homeowner Should Know – Thermatek Heating
- Understanding Plumbing Leak Detection: Why It Matters – Thermatek Heating
- Understanding Common DIY Plumbing Mistakes For Homeowners – Legacy Plumbing & Drain – Emergency Plumbers Of Sacramento
- Essential Plumbing Maintenance Checklist for 2025 Tips – 8th Bend Plumbing Heating and Cooling